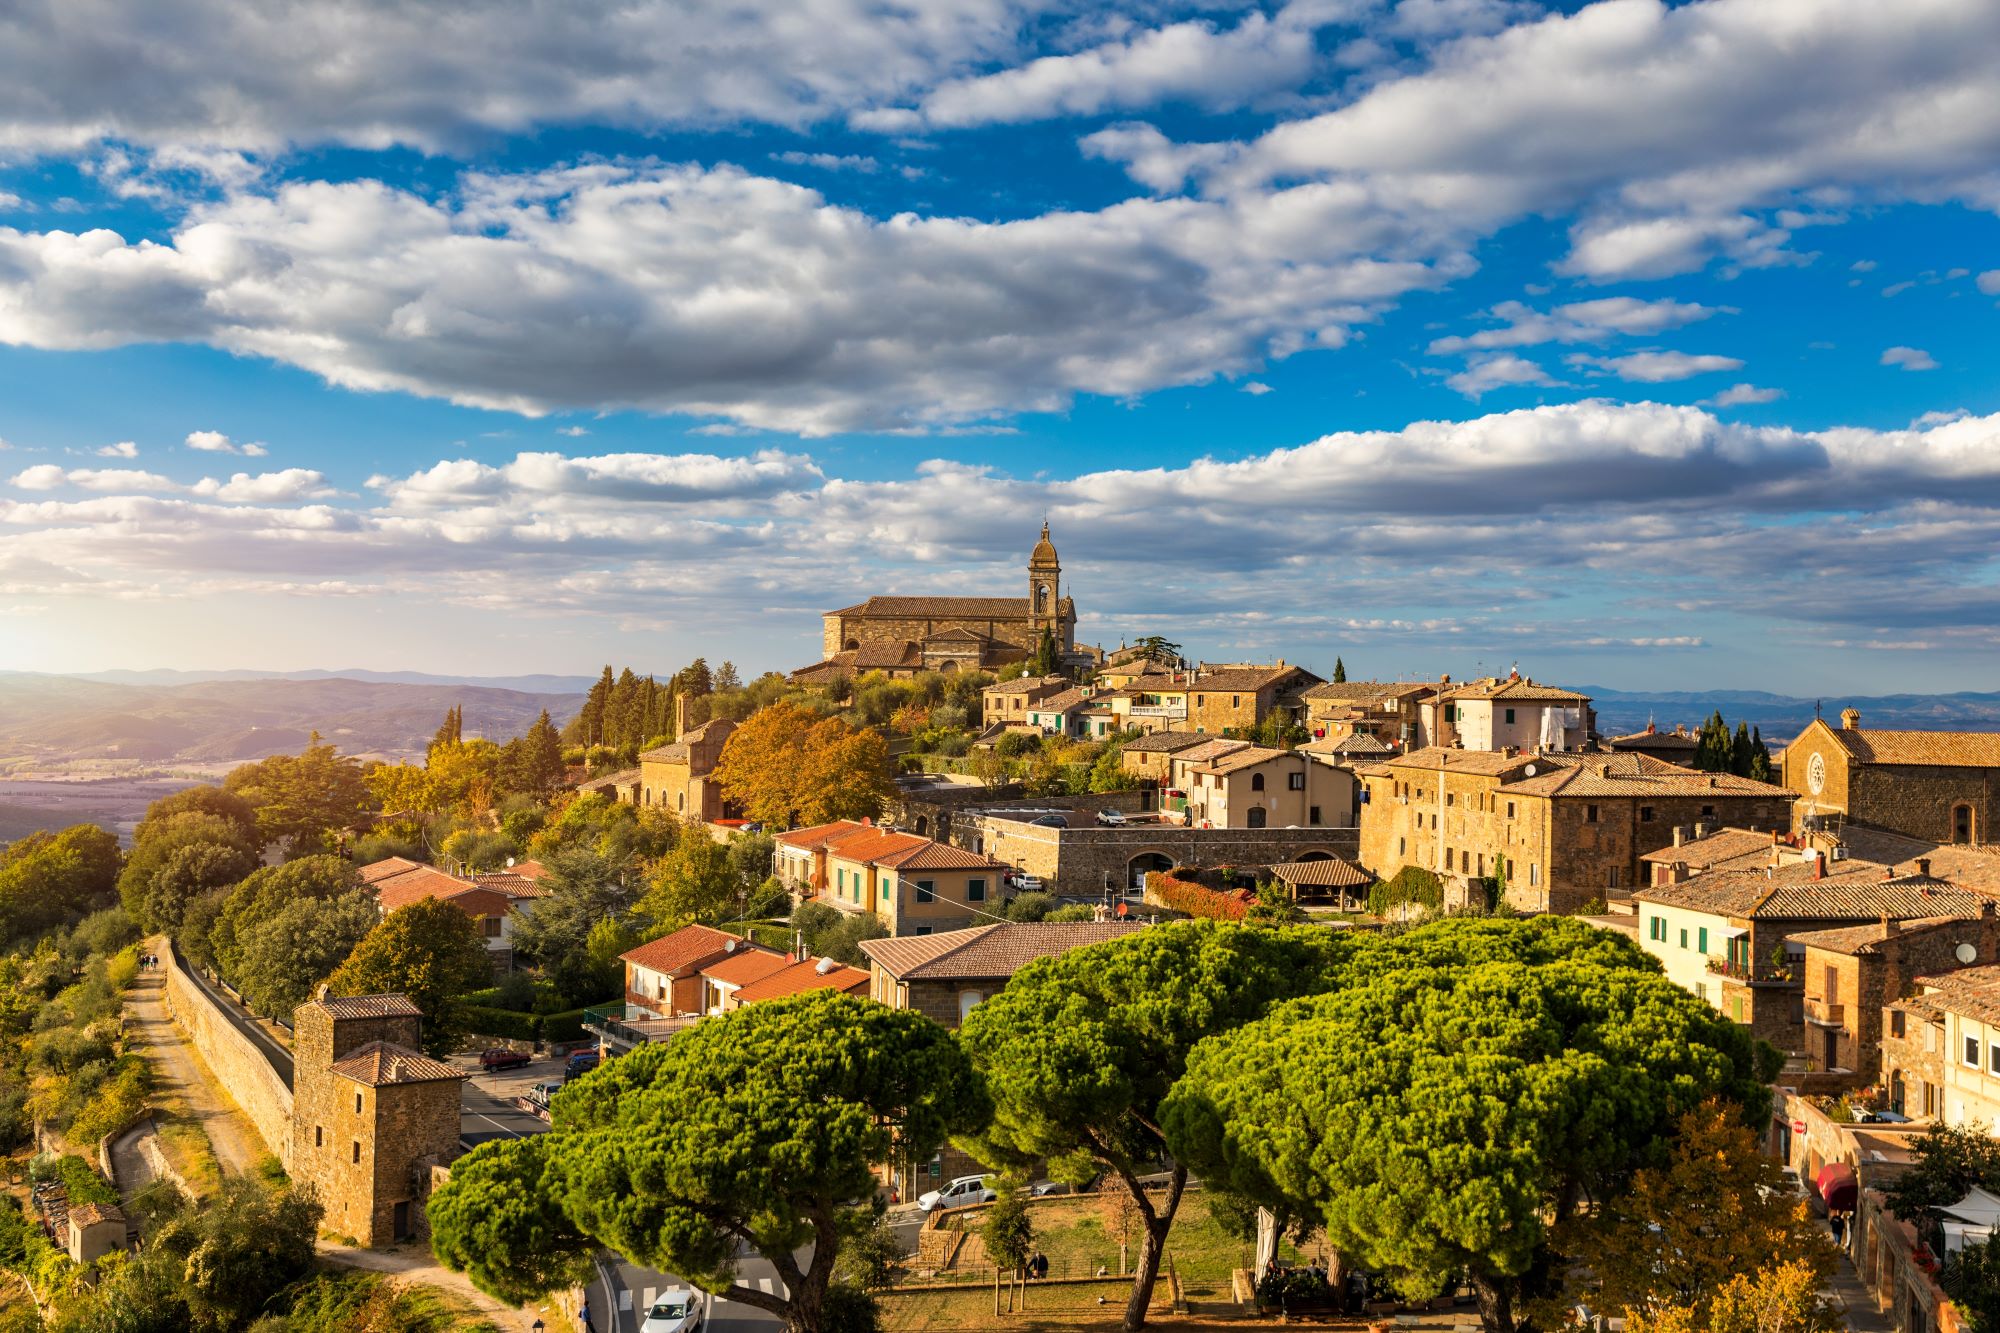
Traveling light becomes increasingly appealing for travel photographers. Luckily, with modern technologies, it is no longer required to carry heavy gear for stunning photos. Whether wandering through the narrow streets of a historic city or basking in the natural beauty of a remote beach, you can rely on your iPhone to document your adventures.
The convenience of having a powerful camera allows you to effortlessly capture fleeting moments. Furthermore, with a range of editing tools and apps, the creative possibilities are endless.
This article explains how to take good travel photos with an iPhone, using your gadget’s potential to the fullest to preserve your travel memories in breathtaking visuals.
Travel Photography Tips for iPhone
1. Preparation
Update your operating system and apps. Clean your lens with a soft cloth. Get rid of smudges and dust. Familiarize yourself with your camera settings and enable the grid feature. Set the resolution as high as possible. Ensure you have enough storage space for your photos, and use iCloud to back them up.
2. Lighting and Composition
Soft lights right before sunset and after sunlights (golden hours) are preferable. A harsh noon sun can be extra challenging, so avoid it if possible. Experiment with shadows and silhouettes for deeper and more interesting shots. Use reflective areas for more creative compositions.
Familiarize yourself with the basic compositional principles: the rule of thirds, leading lights, and natural framing. Try different angles and perspectives. Get low to the ground for a dramatic shot, or find a higher vantage point for a unique view. Look for symmetry and patterns to create compelling images and attract the viewers’ attention. Include foreground elements to add dimensions. Utilize negative space around your main subjects. It creates a sense of scale and simplicity, especially for minimalist compositions.

3. Technical Nuances
Hold your phone with both hands to keep it steady. Consider using a small tripod to ensure stability and prevent unnecessary blur. Tap on the screen where you want to focus. Ensure your main subject is sharp and the exposure is adjusted correctly. It will save you time and effort during post-processing. Shoot in ProRAW or HEIF formats. These formats retain more data, giving you greater flexibility in editing.
Use apps that allow manual control over your camera settings, like Slow Shutter Cam, to experiment with long exposure times when capturing moving objects. Move your iPhone along with the subject while keeping it in focus. It will help you blur the background while keeping the moving object sharp.
iPhone Camera Modes for Travel Photos
- The burst mode is used for action shots and unpredictable moments. Hold down a shutter button to quickly capture a series of photos and choose the best ones later.
- Apply portrait mode to capture people and close-up details. It creates a shallow depth of field effect for your subjects to pop out on a slightly blurred background.
- Live photos add movement to still images, making your travel snapshots more dynamic.
- Showcase more detail in both shadows and highlights of your pictures with the High Dynamic Range (HDR) mode. It is especially useful in high-contrast scenes. Apply it when photographing landscapes with bright skies and dark foregrounds.
- Capture expansive vistas and wide landscapes with a panorama mode. Stitch multiple images into one wide-angle photo.
- Rely on the night mode in the low light conditions. This feature uses longer exposure times to capture brighter and clearer photos.
Editing Travel Photos on iPhone
The built-in iPhone photo editor may be enough for basic adjustments like exposure, saturation, tint, contrast, and brightness. You can crop and straighten your images if you need to. Here, you can also adjust highlights and shadows. Feel free to experiment with the built-in effects and filters, but be careful not to over-edit your pictures and maintain a realistic look.
In addition, Apple’s App Store offers various photo editing apps to expand your gadget’s post-processing capabilities to a professional-grade level. Choose an application according to your budget, skills, and goals. The choice of the most popular filter apps for iPhone varies from free apps like Snapseed to premium-class software like Lightroom.
Some of these programs are universal and include a wide set of professional-grade editing features, like Luminar for mobile. However, if you want to avoid delving into the nuances of post-processing, your only goal is to create appealing visuals for your travel blog on Instagram. In that case, apps like StoryChic are designed specifically for creating social media content.
Conclusion
Photographing with a smartphone camera does not mean you must compromise your snapshots’ quality. By understanding how to make the most from your iPhone and applying helpful recommendations from this article, you can capture stunning images that rival those taken with professional cameras. Your creative possibilities are endless, from setting up your iPhone properly and mastering lighting and composition to utilizing advanced camera features and editing your photos with prominent software. So, pack light, keep your iPhone ready, and start capturing the beauty of your travels like a pro.


